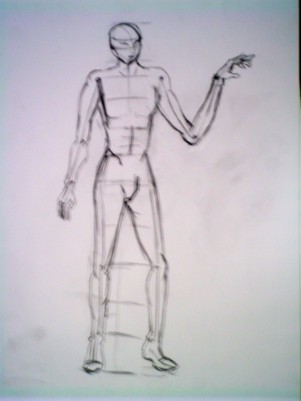
The Start of any costume design is gathering the research images, which are pictured on the previous pages, and now I will further discuss the process by which a Rendering is created. A rendering starts with the creation of a body form, generally drawn out, the body form can be very difficult to achieve. The proportions of the human body are seldom perfect, however, achieving a realistic body proportion is often exasperating. Different schools of thought teach alterations upon the body proportion, with most stating that a body is generally seven heads high. However, in fashion and theatre renderings the body is often elongated to nine heads high, creating a proportion with longer, more elegant legs.
 | 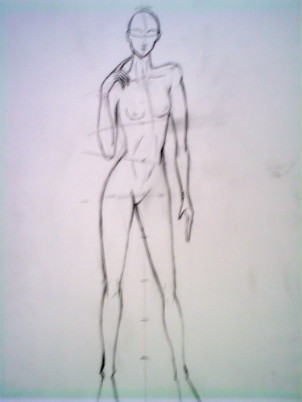 |
So, once the desired body form and position is achieved we move on to the next step. For this step we take a sheet of tracing paper and place it over the original body form. We do this because the body form will probably have multiple smudges, and by using tracing paper we also ensure that we can reuse the desired position for future renderings. Using tracing paper it is possible to layer fabrics onto of the body form without compromising the actual body form. | 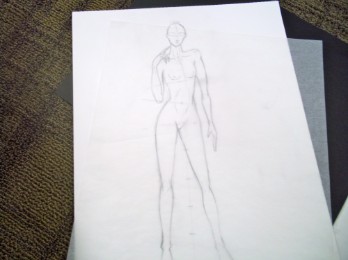 |
After you have created the clothing the time comes to transfer it to watercolor paper, or another desired finishing paper. There are several ways to do this including a light box, or graphite transfer paper. I personally prefer to use a light box, however, these can be extremely expensive. If you desire to create your own light box there are several useful, albeit improvised - and warning, if people walk by your dorm room while using these improvised methods they will stare, and probably laugh (but then so would I)- methods of creating a light box. First method, take two end tables and place a lamp between them without the shade. Place a piece of plexiglass atop the tables spanning over the lamp, this creates an instant light box. If you wish to use graphite transfer paper and do not have any, then you can create some using card stock paper and a graphite stick, although this is a somewhat messy method. For this project this is the method I used and it works quite well. Run the graphite stick over the card stock picture until the paper is somewhat dark, this creates a makeshift graphite transfer paper. Lay the transfer paper over the watercolor paper and then the tracing paper over the top, and trace the lines heavily so the lines will transfer through.
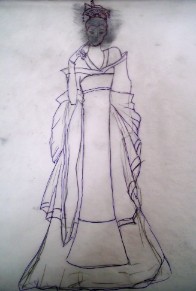 | 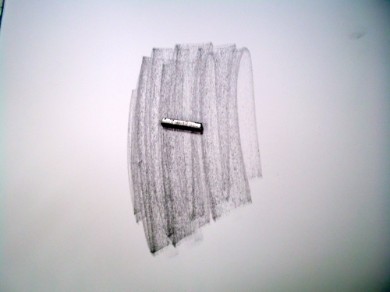 |
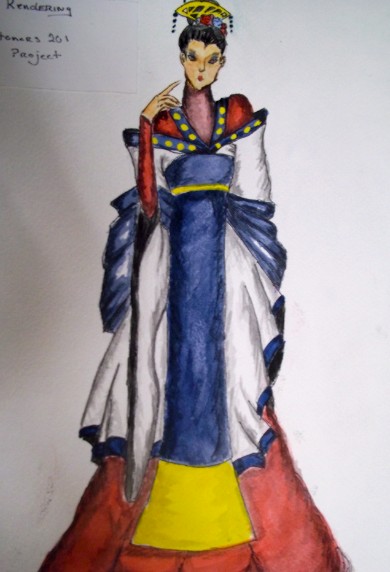
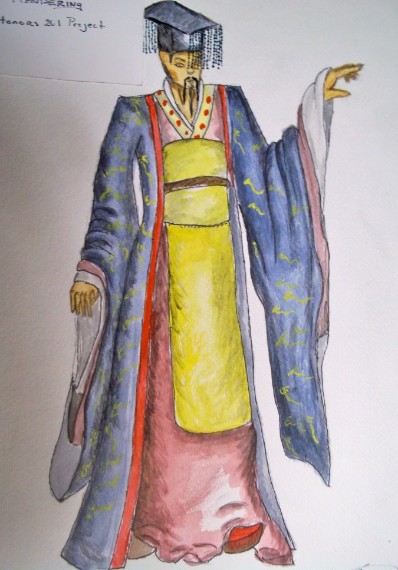
Once you have done this, you can see the light lines on the watercolor paper. Now you can paint, or otherwise color in the renderings and shade them to create a three dimensional figure.
 |  |